Tools and Materials Needed
Before you begin sealing the gap around your bathtub, it’s essential to gather all the necessary tools and materials. Here’s a comprehensive list:
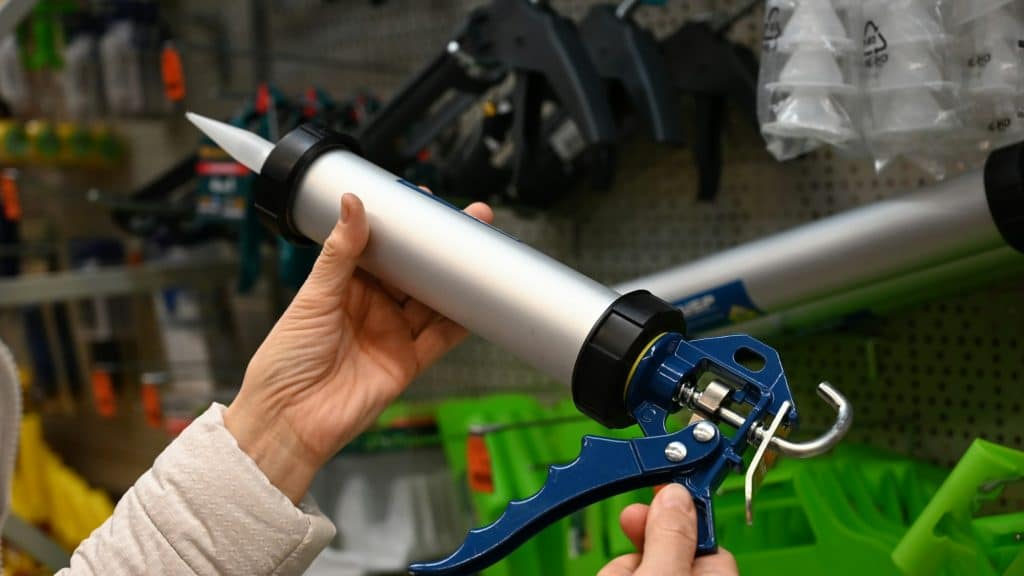
– Caulk gun
– Caulk (preferably silicone)
– Utility knife
– Painter’s tape
– Rubbing alcohol or mild detergent
– Plastic spoon or caulking tool
– Paper towels or clean rags
– Bucket of water
Preparation Steps
Proper preparation is key to a successful caulking job. Follow these steps to ensure your work area is ready:
1. Remove Old Caulk: Use a utility knife to cut away any old caulk. Be careful not to scratch the bathtub or tiles.
2. Clean the Area: Wipe down the area with rubbing alcohol or a mild detergent to remove any debris, mold, or mildew. Allow it to dry completely.
3. Tape the Edges: Apply painter’s tape along the edges of the gap to ensure a clean and straight line of caulk.
Applying the Caulk
Once the area is prepared, follow these steps for applying the caulk:
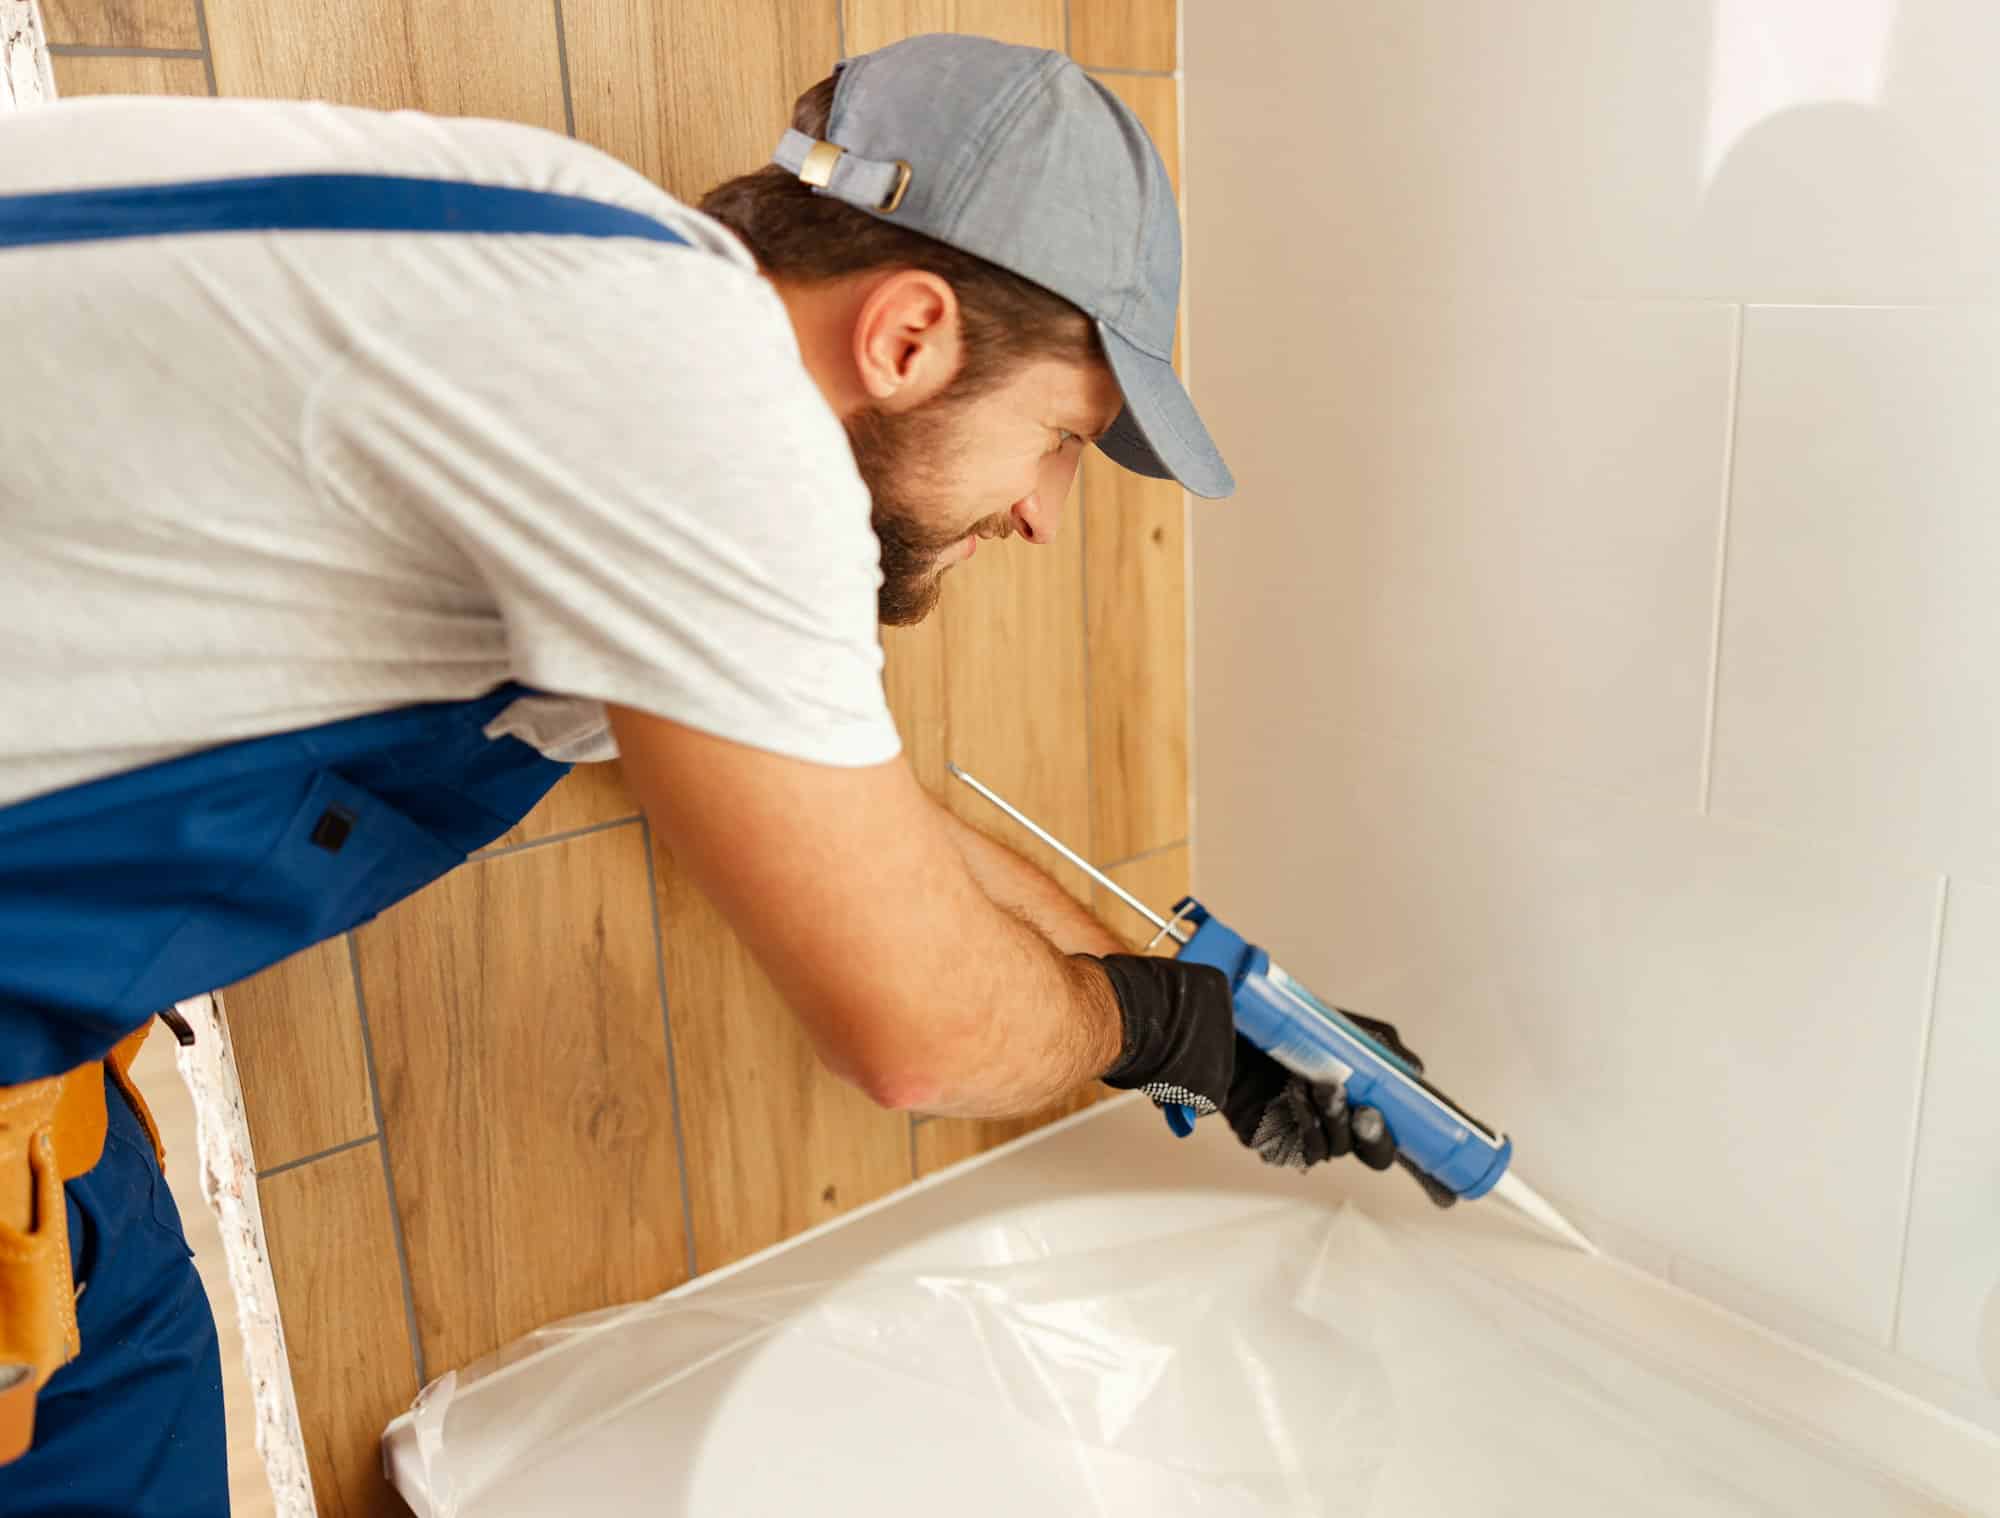
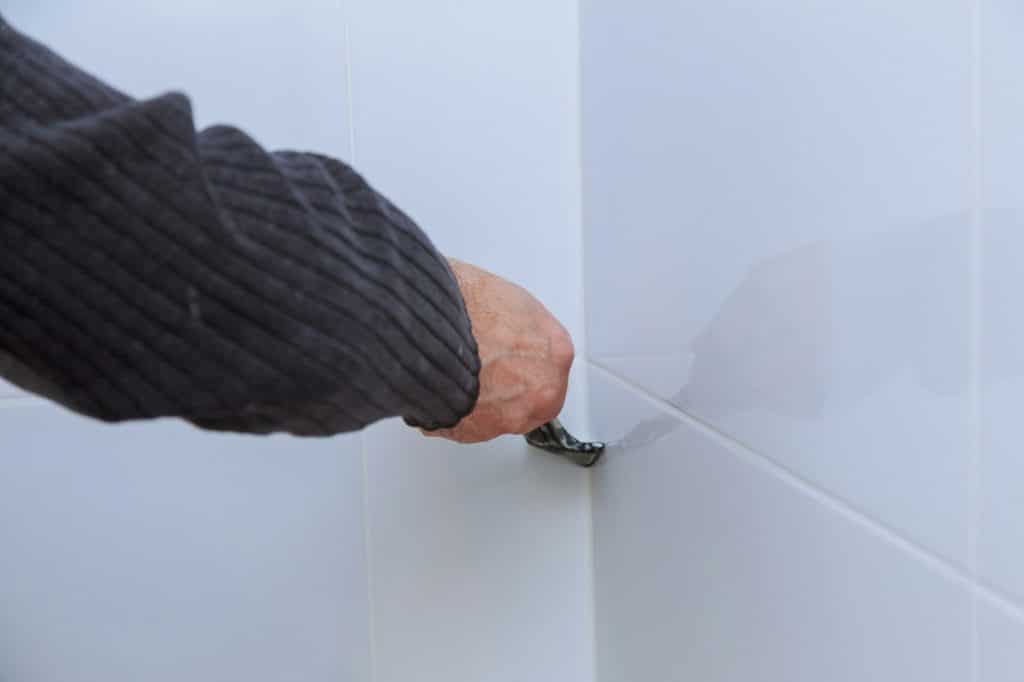
1. Load the Caulk Gun: Cut the tip of the caulk tube at a 45-degree angle and load it into the caulk gun.
2. Apply the Caulk: Hold the caulk gun at a consistent angle and apply the caulk in a continuous line, filling the gap completely.
3. Smooth the Caulk: Use a plastic spoon or caulking tool to smooth out the caulk. Dipping the tool in a bucket of water can help achieve a smooth finish.
4. Remove the Tape: Carefully remove the painter’s tape before the caulk dries to ensure clean edges.
Curing and Cleaning Up
After applying the caulk, follow these steps for curing and cleaning:
1. Let It Cure: Allow the caulk to cure as per the manufacturer’s instructions (usually 24 hours).
2. Clean Up: Use paper towels or clean rags to wipe away any excess caulk while it’s still wet.
Troubleshooting Common Issues
When caulking around a bathtub, you might encounter some common issues. Here’s how to address them:
– Uneven Caulk Line: If the caulk line is uneven, smooth it out immediately using your caulking tool and a bit of water.
– Gap Too Large:For larger gaps, consider using a backer rod before caulking to fill the space.
– Mold Growth: Ensure the area is thoroughly cleaned and dried before caulking to prevent mold growth in the future.
Comparison of Caulk Types
| Type of Caulk | Pros | Cons |
|---|---|---|
| Silicone Caulk | Highly flexible, waterproof, long-lasting | Difficult to apply and remove |
| Acrylic Latex Caulk | Easy to apply and clean up, paintable | Less flexible, not as durable in wet areas |
| Polyurethane Caulk | Extremely durable, adheres well to various surfaces | More expensive, longer curing time |
Maintenance Tips
To keep your caulking in good condition, follow these maintenance tips:
– Regular Inspection: Check the caulk regularly for any signs of wear or damage.
– Prompt Repairs: Address any cracks or gaps immediately to prevent water damage.
– Clean Regularly: Use a mild detergent to clean the caulk line and prevent mold growth.
Frequently Asked Questions
1. How often should I replace the caulk around my bathtub?
The frequency of replacing caulk depends on various factors, such as the type of caulk used and the conditions of your bathroom. Silicone caulk can last up to 10 years, while acrylic latex may need replacement every 3 to 5 years. Regular inspection for cracks, gaps, or mold growth will help determine when replacement is necessary.
2. Can I apply new caulk over old caulk?
It’s generally not recommended to apply new caulk over old caulk. The old caulk may not provide a stable surface for the new caulk to adhere to, leading to gaps and leaks. Always remove the old caulk before applying new caulk for the best results.
3. What should I do if the caulk doesn’t cure properly?
If the caulk doesn’t cure properly, it could be due to factors such as high humidity, inappropriate caulk type, or inadequate application thickness. Make sure to follow the manufacturer’s instructions carefully. If the problem persists, you may need to remove the improperly cured caulk and reapply it under better conditions.
4. How do I prevent mold growth on the caulk?
To prevent mold growth, ensure the area is thoroughly cleaned and dried before applying new caulk. Use mold-resistant caulks, such as those containing mildewcides. Regularly clean the caulk line with a mild detergent and keep the bathroom well-ventilated to reduce humidity.
5. Can I paint over caulk?
You can paint over certain types of caulk, like acrylic latex caulk, once it has fully cured. However, silicone caulk is not paintable as the paint will not adhere to it. If you need to paint, choose a caulk that is specifically labeled as paintable.
6. What should I do if the gap is too large for caulk alone?
If the gap around your bathtub is too large for caulk alone, you can use a backer rod to fill the space before applying caulk. The backer rod provides a stable base and reduces the amount of caulk needed, ensuring a more secure and long-lasting seal.
7. How can I ensure a smooth caulk line?
To achieve a smooth caulk line, apply the caulk in a continuous, even bead using steady pressure on the caulk gun. Immediately smooth the caulk with a caulking tool or a plastic spoon dipped in water. Removing painter’s tape before the caulk dries also helps in achieving clean, crisp edges.
8. What type of caulk is best for use around a bathtub?
Silicone caulk is generally considered the best option for use around a bathtub because of its flexibility, waterproof nature, and durability. It adheres well to various surfaces and withstands the constant exposure to water, making it ideal for bathroom applications.
9. Can I use caulk to fill larger gaps around the bathtub?
Caulk is not suitable for filling very large gaps by itself. For larger gaps, use a backer rod to fill the space first, then apply caulk over the backer rod to create a smooth, sealed finish. The backer rod helps to provide a stable base and reduce the amount of caulk needed.
10. How do I know if the caulk has cured properly?
The curing time for caulk can vary depending on the type of caulk and environmental conditions. Check the manufacturer’s instructions for specific curing times. Properly cured caulk will be firm to the touch and no longer sticky. Ensuring proper ventilation and maintaining the recommended temperature and humidity levels will help achieve the best results.