Removing old carpet can significantly improve the appearance and cleanliness of your home, providing a fresh start for new flooring installations. Old carpets often harbor dust, allergens, and odors, which can affect indoor air quality. Additionally, replacing worn-out carpet with new flooring options can enhance the overall aesthetics and functionality of your space. Whether you’re upgrading to hardwood, tile, or new carpet, removing the old carpet is a crucial first step. Follow these six steps to safely and efficiently remove your old carpet, ensuring a smooth transition to your new flooring.
Step 1: Prepare the Area
Removing All Furniture and Items
Begin by completely clearing the room of all furniture and personal items. This step is essential to ensure you have ample space to work and to protect your belongings from dust and damage. Move larger furniture pieces to another room or a safe area. For bulky or heavy items, consider enlisting help to prevent injury.
Detaching Doors and Baseboards
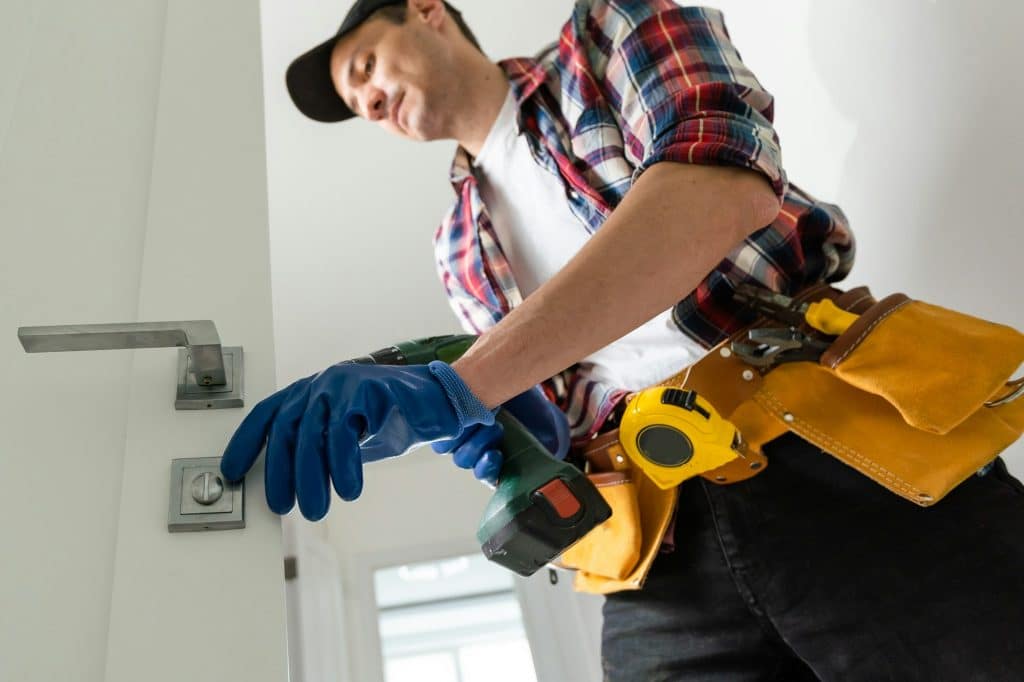
Next, remove any doors that open into the room. This will prevent them from obstructing your work and provide easier access to the carpet edges. Use a screwdriver to carefully unhinge the doors and set them aside.
Removing Baseboards and Shoe Moldings
With the room cleared, proceed to remove the baseboards and shoe moldings along the perimeter. Using a pry bar, gently lift these elements away from the wall. Start at one end and work your way around the room, being cautious to avoid damaging the walls. Removing these moldings will make it easier to access and lift the carpet and ensure a clean finish when installing new flooring.
Detailed Steps:
- Furniture Removal
Move all furniture and personal belongings out of the room to establish a clean and organized workspace. This step is essential for promoting productivity and focus, as a clutter-free environment helps minimize distractions.
Ensure that all items are carefully relocated to prevent any damage, and consider sorting through belongings to determine what can be kept or discarded. After clearing the space, evaluate the layout to optimize functionality and comfort. This process will not only enhance the room’s appearance but also create an inviting atmosphere conducive to effective work and creativity. - Door Detachment
To remove doors that swing into a room, start by using a screwdriver to carefully detach the hinges. Once the screws are loosened and the hinges are unfastened, lift the door off its frame. Handle the door with care to avoid damage, and then transport it to a secure area for temporary storage.
Ensure that the door is placed on a flat surface or leaned against a stable support to prevent any accidents. Following these steps will allow for a smooth and safe process when removing the door for maintenance or other purposes. - Baseboard and Molding Removal:
Removing baseboards and molding involves carefully detaching these trim elements from the walls without causing damage. First, use a utility knife to cut through any caulk or paint sealing the edges. Then, insert a pry bar or a similar tool between the molding and the wall, gently lifting it to loosen the nails or adhesive holding it in place.
Work slowly along the length of the molding to prevent cracking or breaking. Once removed, clean the area of any leftover debris or adhesive. This process prepares the surface for new molding or other renovation tasks.
Tools and Safety
Ensure you have the necessary tools on hand, including a pry bar, screwdriver, and safety equipment like gloves and goggles. Working carefully and systematically will help protect both your home and yourself during this preparation phase.
By thoroughly preparing the room, you set the stage for a smooth and efficient carpet removal process, ultimately leading to a successful flooring project.
Step 2: Carefully Cut the Carpet into Manageable Strips of Appropriate Size for Easy Handling
Using a utility knife, start by cutting the carpet into manageable strips for easier removal. Begin at one edge of the room and carefully slice through the carpet, creating strips about 3 feet wide. Ensure your knife blade is sharp to make clean cuts and minimize effort.
As you cut, be cautious not to press too hard, which could damage the subfloor underneath. Work systematically, cutting one strip at a time, and rolling up each section as you go. Secure the rolled strips with duct tape for easy handling and disposal.
Removing carpet in smaller sections makes the process more manageable and helps avoid excessive lifting and straining. Additionally, rolled carpet strips are easier to transport to disposal sites or recycling centers.
By carefully cutting the carpet and protecting the subfloor, you ensure a smooth removal process and prepare the area for the next phase of your flooring project.
Step 3: Detach Carpet from Tack Strips
Start in a corner of the room where the carpet meets the wall. Use a pair of pliers to grip the edge of the carpet firmly. Carefully pull the carpet up and away from the tack strips that secure it to the floor. Work slowly to avoid tearing the carpet or damaging the subfloor. Once the corner is free, continue pulling the carpet along the edges of the room, using the pliers as needed to lift stubborn sections. As you detach the carpet, roll it up into manageable strips for easier handling and disposal.
Step 4: Pull Up the Carpet
Once you have detached the carpet from the tack strips and cut it into manageable sections, it’s time to roll up the strips for disposal. Start by taking one of the cut strips and rolling it tightly from one end to the other. Secure the rolled-up carpet with duct tape to keep it from unrolling. Repeat this process for each strip of carpet.
After securing the rolls, place them in heavy-duty garbage bags to contain any dust and debris. Properly sealing the bags makes transporting the carpet to a disposal site or recycling center easier and cleaner. This method ensures an organized and efficient way to handle and dispose of the old carpet.
Step 5: Remove the Carpet Padding
Once you’ve rolled up and removed the carpet, you’ll need to take out the carpet padding. Begin by using pliers to pull out any staples securing the padding to the subfloor. Work methodically, removing all the staples to free the padding.
If the padding is glued down, use a floor scraper to carefully lift it away from the subfloor. For particularly stubborn adhesive, a commercial adhesive remover can help break down the glue. Apply the remover according to the manufacturer’s instructions and scrape away the softened adhesive with the floor scraper. This process ensures the subfloor is clean and ready for the next phase of your flooring project.
Step 6: Remove the Tack Strips
After removing the carpet padding, it’s time to take out the tack strips that were holding the carpet in place. Use a hammer and pry bar to lift the tack strips nailed into the floor. Position the pry bar under the tack strip and gently tap it with the hammer to loosen the nails. Carefully work your way along the strip until it is fully detached from the floor.
Once removed, place the tack strips in heavy-duty garbage bags for disposal. Ensure the sharp edges are contained to prevent injury during handling and disposal. This will prepare the subfloor for the next step in your flooring project.
Safety Considerations
Wear closed-toe shoes, knee pads, safety gloves, a dust mask, and safety glasses to protect against injuries and dust.

What You Will Need for This Task
Cost Estimation for Carpet Removal Tools
Here’s an estimated cost breakdown for each tool needed for DIY carpet removal:
| Tool | Estimated Cost |
|---|---|
| Pry bar | $10 – $20 |
| Screwdriver | $5 – $15 |
| Gloves | $5 – $10 |
| Safety glasses | $5 – $15 |
| Dust mask | $1 – $5 (per mask) |
| Knee pads | $10 – $30 |
| Utility knife | $5 – $15 |
| Pliers | $10 – $20 |
| Floor scraper | $15 – $30 |
| Paint scraper | $5 – $10 |
| Hammer | $10 – $20 |
Total Estimated Cost
- Low-end estimate: $81
- High-end estimate: $190
This range accounts for purchasing basic, durable tools suitable for carpet removal. Prices may vary based on quality and brand.
Materials:
- Duct tape
- Garbage bags
Disposal Options
Check with local recycling and trash services about carpet disposal. Some services may require you to take the carpet to a recycling center or landfill.
Additional Tips
- Plan what flooring will replace the carpet. This can influence whether you need to remove tack strips or padding.
- For more detailed instructions, check the full guide at Better Homes & Gardens.
Pros and Cons of DIY Carpet Removal
| Pros | Cons |
|---|---|
| Cost Savings: Doing it yourself saves on labor costs. | Physical Labor: Carpet removal involves heavy lifting and physical strain. |
| Flexible Timing: Work at your own pace without scheduling contractors. | Time-Consuming: The process can take several hours or even days. |
| Personal Satisfaction: Completing the project yourself can be rewarding. | Potential for Injury: Without proper precautions, there’s a risk of injury from tools and materials. |
This table outlines the advantages and disadvantages of undertaking a DIY carpet removal project, highlighting cost savings and flexible timing as benefits, while also noting the physical demands and potential risks involved.
Conclusion
Removing old carpet yourself is a manageable task with the right tools and safety measures. Following these steps ensures a smooth process, preparing your floors for new, stylish installations. Always plan ahead for disposal and consider the pros and cons before starting your project.


